Effective chip removal in CNC machines requires a proactive strategy combining optimized programming, powerful coolant systems, and purpose-built mechanical tools. The goal is to prevent accumulation before it happens and employ systematic methods for cleanup when it does, ensuring machine protection, part quality, and operator safety.
For machinists and shop managers, chip buildup is more than a simple nuisance. It’s a silent saboteur that can lead to catastrophic tool failure, scrap parts, and accelerated machine wear. This comprehensive guide moves beyond basic shop-keeping to provide a technical blueprint for mastering chip management in your CNC operations.
The High Cost of Ignoring Chips: Why Removal is Critical
Understanding the risks reinforces why a disciplined chip strategy is non-negotiable.
-
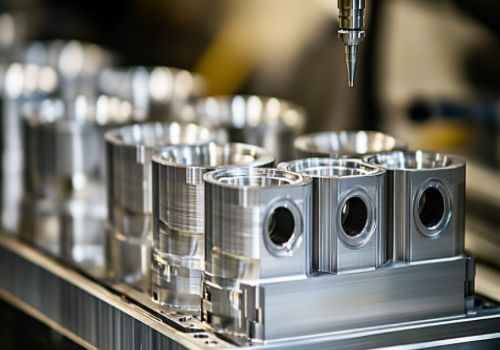
Part Quality & Accuracy: Accumulated chips can displace a workpiece or interfere with tool paths, leading to dimensional inaccuracies and poor surface finishes.
-
Tool & Machine Damage: Recutting hardened chips (work hardening) rapidly dulls cutting edges. Chips packed around a spindle or in way covers cause overheating and abrasive wear on precision components.
-
Safety Hazards: Razor-sharp metal swarf poses laceration risks. Long, stringy aluminum “bird’s nests” can violently entangle in moving parts, creating a severe safety incident.
-
Downtime & Efficiency: Manual chip-clearing halts production. A machine that can’t run unattended due to chip concerns limits capacity for lights-out machining.
Phase 1: Prevention – Optimizing Your Process to Minimize Buildup
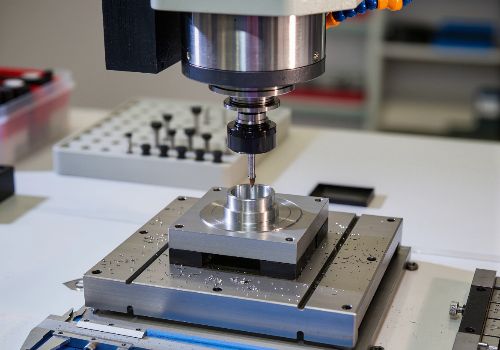
The most effective chip removal happens during the cut itself. A well-optimized process generates manageable chips and evacuates them continuously.
1. Chip Formation & Evacuation Strategy
-
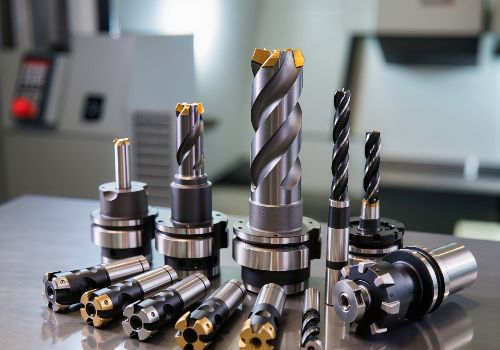
Tool Geometry: Select tools designed for good chip breaking. Look for variable helix angles and chipbreaker geometries on inserts. For aluminum, use polished flutes and high shear tooling to prevent material adhesion.
-
Cutting Parameters: Adaptive or High-Efficiency Machining (HEM) toolpaths maintain a constant tool engagement, producing smaller, consistent chips and reducing heat. Ensure your feed rate is high enough to form a proper chip; too slow a feed creates a thin, stringy chip that is difficult to break.
-
Programming for Evacuation: Program toolpaths that “lead” chips out of deep pockets or cavities. Use climb milling direction to throw chips ahead of the cutter, away from the finished surface.
2. The Coolant System: Your First Line of Defense
-
Pressure & Volume: A high-flow flood coolant system is essential for washing chips away from the cut zone and out of the work envelope. For deep-hole drilling or pocketing, high-pressure coolant (HPS) through the spindle (70-1000+ psi) is transformative. It breaks chips at the source and forcefully flushes them out.
-
Nozzle Positioning: Aim is everything. Position coolant nozzles strategically to direct chips toward the machine’s augers or conveyor, not just flood the table. Magnetic or flexible nozzle arms allow for quick repositioning between jobs.
Table: Chip Control Strategy by Material Type
| Material | Chip Characteristic | Primary Prevention Strategy | Tooling Focus |
|---|---|---|---|
| Aluminum | Gummy, stringy “bird’s nests” | High-pressure coolant, high surface speed | Polished flutes, sharp cutting edges |
| Steel | Continuous, tough curls | Optimized feed rates, chipbreaker inserts | Robust chipbreaker geometry |
| Cast Iron | Brittle, abrasive powder | Air blast or vacuum systems, enclosed guarding | Wear-resistant coatings |
| Stainless Steel | Stringy, work-hardens easily | Consistent, adequate feed rates, high coolant volume | Sharp, positive-rake geometry |

Phase 2: Removal – Tools & Techniques for a Clean Machine
When prevention isn’t enough, you need the right tools for removal. The best method depends on the chip type, machine design, and your shop’s volume.
Manual Removal Tools (For Smaller Shops or Final Cleanup)
-
Chip Hooks & Rakes: The fundamental tools. Use brass or aluminum hooks to avoid damaging precision machine surfaces (ways, ballscrews). A magnetic pickup tool is invaluable for ferrous chips.
-
Industrial Vacuum Systems: A wet/dry vac rated for metal chips is essential. Look for static-dissipating hoses and explosion-proof motors if machining flammable materials like magnesium. Never use a standard shop vac, as metal sparks can cause a fire.
-
Compressed Air: Use with extreme caution. Always wear proper PPE (safety glasses, face shield). Air pressure can blow fine, abrasive chips into machine bearings and guides. If used, direct chips away from critical machine components and into a collection area.
Automated & Built-In Systems (For Production & Larger Shops)
-
Chip Augers & Conveyors: The backbone of automated removal. Hinged-steel belt conveyors handle a wide range of chips and coolant. Drag conveyors (aka harpoon conveyors) are better for heavy, wet chips. Ensure they are correctly sized for your chip volume.
-
Chip Compactors & Shredders: These process “fluffy” tangles of aluminum or stringy steel into dense, dry “pucks” or small chips. This drastically reduces waste volume (by up to 90%), increases scrap value, and simplifies handling.
-
Coolant Filtration Systems: Integrated paper-band, drum, or magnetic separators remove fine fines from coolant. Clean coolant is more effective at evacuating chips and prevents sludge buildup in the machine sump and on parts.

Phase 3: The Systematic Cleaning Procedure
Don’t just dig in. Follow a safe, thorough procedure.
-
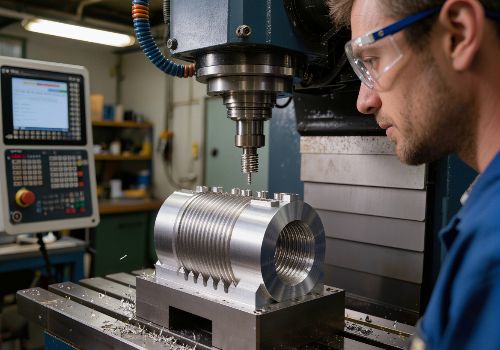
Safety First: Power down the machine. Wear cut-resistant gloves, safety glasses, and sturdy footwear. Lockout/Tagout (LOTO) procedures must be followed if accessing internal areas.
-
Clear the Work Envelope: Remove the workpiece and vises/fixtures. Use hooks, brushes, and a vacuum to remove all chips from the table, T-slots, and spindle nose.
-
Access and Clean Guards & Way Covers: Retract way covers fully. Manually clear any packed chips from the folds or rails. This is a critical step often missed.
-
Empty the Chip Pan & Conveyor: Shut down and clear any jam in the conveyor. Empty the chip bin or hopper.
-
Inspect & Clean the Coolant Sump: Adhere to a schedule for sump cleaning. Use a coolant vac to remove sludge and chips from the bottom of the sump. Refill with clean, properly mixed coolant.
-
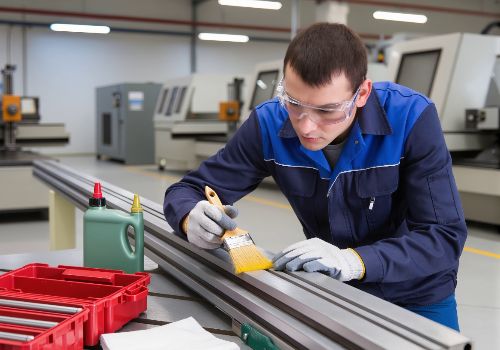
Final Wipe-Down: Use a clean, lint-free rag to wipe down all exposed machine surfaces with a light machine oil to prevent rust.
Implementing a Sustainable Chip Management Program
-
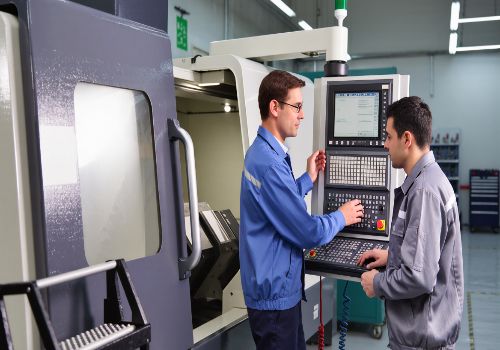
Daily: Perform a visual check and quick cleanup at shift change. Ensure conveyors are running and coolant levels are adequate.
-
Weekly: Conduct a more thorough cleaning of the work envelope and check coolant concentration.
-
Monthly: Inspect and clean behind way covers. Check for chip jams in augers. Clean or replace coolant filters.
-
Quarterly/Annually: Perform a full coolant sump cleaning and system flush. Inspect seals and wipers on way covers for damage.

Conclusion: From Chore to Competitive Advantage
Viewing chip removal as an integral part of the machining process—not just an end-of-job cleanup—transforms it from a costly chore into a source of competitive advantage. By preventing buildup through intelligent programming and high-pressure coolant, and efficiently removing chips with the right tools and automation, you directly safeguard part quality, extend tool and machine life, and unlock greater productivity through reliable unattended operation.
The investment in proper chip management pays relentless dividends in reduced downtime, lower maintenance costs, and a safer, more professional shop floor. Start by auditing your current process: Where do chips accumulate? Is your coolant truly effective? Addressing these questions is the first step toward a cleaner, more profitable machining operation.